
It’ll be fun, they said. It just works, they said. And to be fair, the iPad is a spectacularly intuitive and user-friendly computing device. But even the iPad has its moments of head-scratching bafflement, and we all have to start learning somewhere.
This article explains the basics of iPad ownership. It should be perfect for the beginners and the newcomers, but we think everyone will find something here they didn’t know before. If you’d prefer some buying advice, try our iPad buying guide and roundup of the best iPad deals.
An iPad has very few buttons: there’s the Home button on the front, below the screen; the power button, at the top right; volume buttons, on the righthand edge; and possibly (depending on the model) a mute switch, next to the volume buttons.
If the iPad is only in sleep mode, you can wake it up by pressing the Home button or the power button. But if it’s been fully powered down (which is likely if it’s just been bought or delivered) then you’ll need to hold down the power button until an Apple logo appears. Give it a moment, and you’ll be up and running.
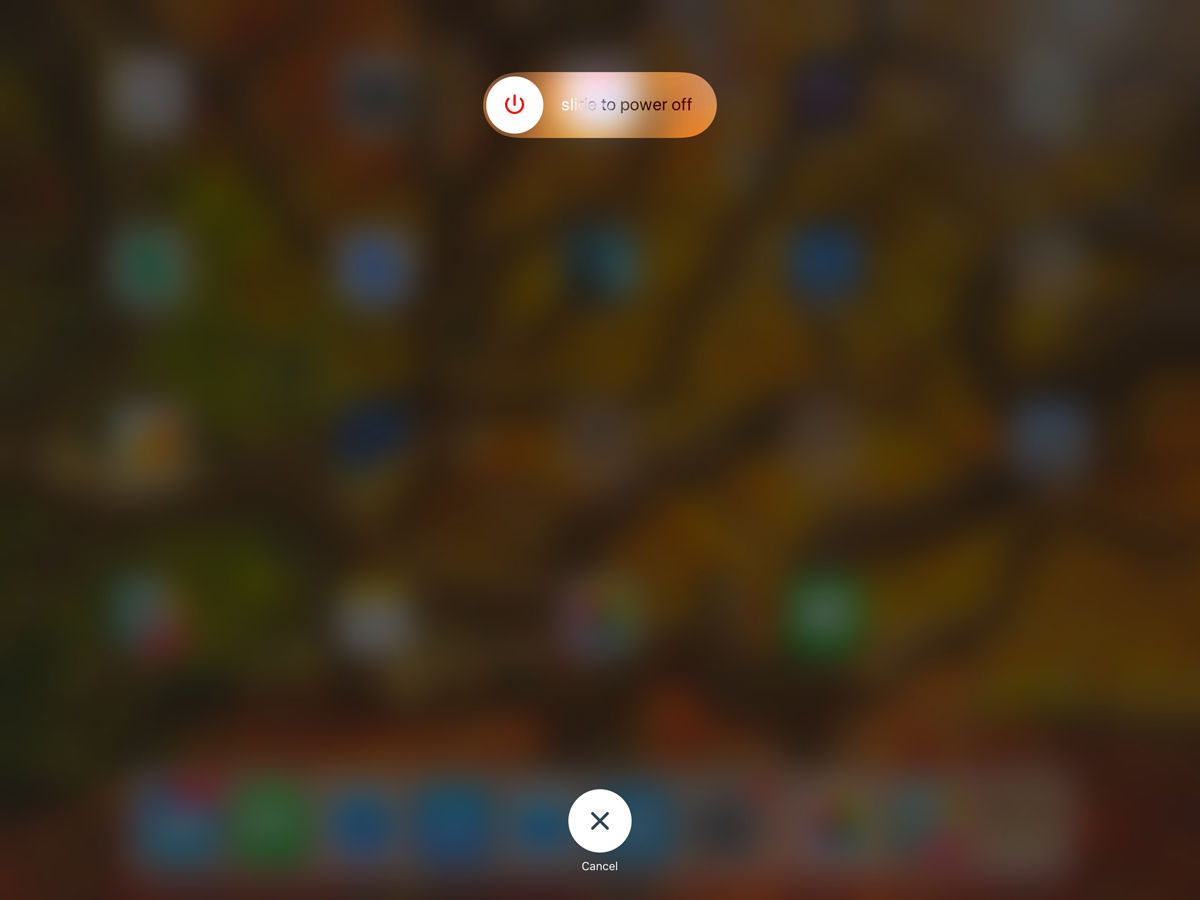
You can press the power button to enter sleep mode (which will be disturbed if any notifications come through – new iMessages and so on). To power off completely, hold down the power button for about rive seconds, until you see ‘slide to power off’ at top of the screen. Swipe your finger across this to power off.

If you’ve got a brand-new iPad (or one you’ve inherited from someone else) then you’ll need to set it up. This includes connecting to a Wi-Fi network, entering or creating an Apple ID, choosing a passcode, setting up Touch ID and selecting various options.
We walk you through this process in a separate article: How to set up a new iPad. We’ll be ready for you when you come back.
You will have been encouraged to set a passcode as part of the setup process, and you may have entered your fingerprint for Touch ID, too (although some older iPads don’t have fingerprint scanners).
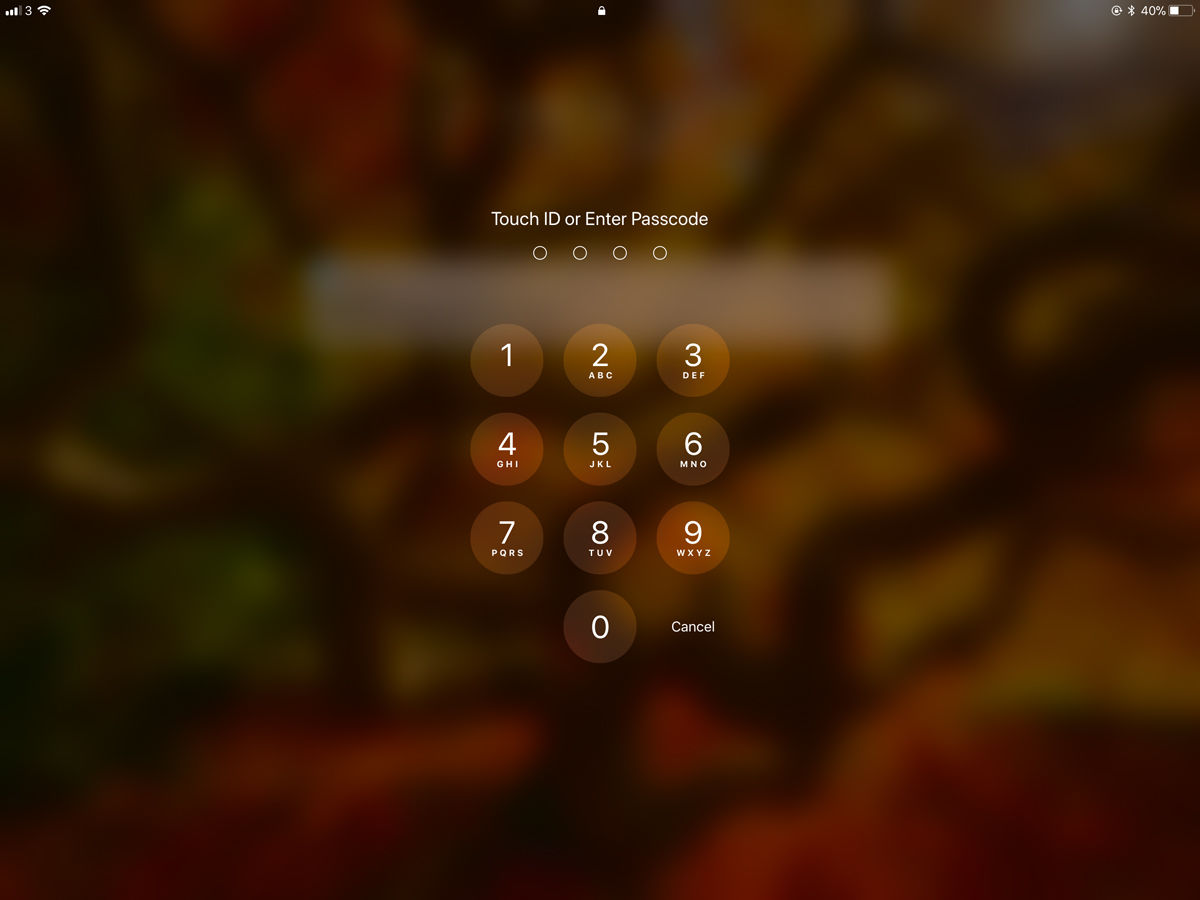
When you wake the iPad from sleep, by default you will have to enter the passcode or appropriate fingerprint to unlock it. (You can turn this off by opening the Settings app, tapping Touch ID & Passcode, entering your passcode, and tapping Turn Passcode Off. But we don’t recommend it.)

Under certain circumstances, you will have to enter the passcode – Touch ID won’t be accepted. These include when you wake up the iPad from complete power off, after you’ve updated iOS, and if you’ve not used the iPad for a long time.
If you get the passcode wrong more than five times iOS will start to add time delays (because it will start to suspect that you are not the real owner). Each time you get it wrong from then on, the longer the delay. If you get the passcode wrong 10 times in a row, you will be locked out of your iPad and will have to wipe it. (We do have some advice on this subject, though: How to bypass a forgotten passcode on iPhone or iPad.)
You can change the passcode, or add new fingerprints, from the Settings app. But you’ll have to enter the old passcode to get into the Touch ID & Passcode section.)
iPads have a rechargeable battery. The amount of battery power you’ve got left will be indicated by a small bar at the top right of the screen.
(You can also choose to have it show a percentage figure next to this bar, by opening the Settings app and going to Battery > Battery Percentage. But don’t worry, we’ll come back to apps, and Settings in particular, in due course.)
If battery is starting to get low, you’ll need to plug the Lightning cable that came with your iPad into the port at the bottom of the device. Plug the other end of the cable into the wall plug that also came with the iPad, and plug that into a power socket. (You can also plug the cable into a Mac or PC’s USB port, but charging will be slower that way.)

The iPad will make a little beep to tell you that it’s now charging. The battery indicator bar will turn green, and a small lighting bolt icon will appear next to it.
At any time you can press the Home button (the one below the screen) to go back to the Home screen. This has a series of icons laid out in a grid. These are your apps: Mail, Calendar, Contacts and so on. Tap one to open it.
The Home page can have multiple screens, if you end up with more apps than can fit on one. Swipe left and right to see more pages of icons.

The Home button has a few other functions. You can press and hold it to activate Siri, iOS’s voice-control feature – tell it to “Translate I love you to French” or try one of our funny questions.
You can double-press the Home button to see thumbnails of recently opened apps: swipe across to see more, and tap one to open that app. You’ll also some small buttons and sliders on the right, which we call the Control Centre, but we’ll come back to that later.
We’ve mentioned Settings a few times so it’s time we talked about it in a little more detail.
Settings is an app, and you’ll see its icon on the Home page: it’s a grey cog. Tap this to open it, and you’ll see the main sections: Sounds, Battery, Display & Brightness and so on. Fortunately most of these are pretty self-explanatory, and there’s a search bar above your name at the top (you’ll need to swipe down to see it) so you can quickly look for settings relating to specific topics.
There’s a lot to see and use here, so we’ve put together a guide: How to use Settings on iPad & iPhone.
We spoke about the app icons on your Home screen just now, but you’ll have noticed that there aren’t all that many at the moment. What if I told you that there are more than a million apps you can install on your iPad?
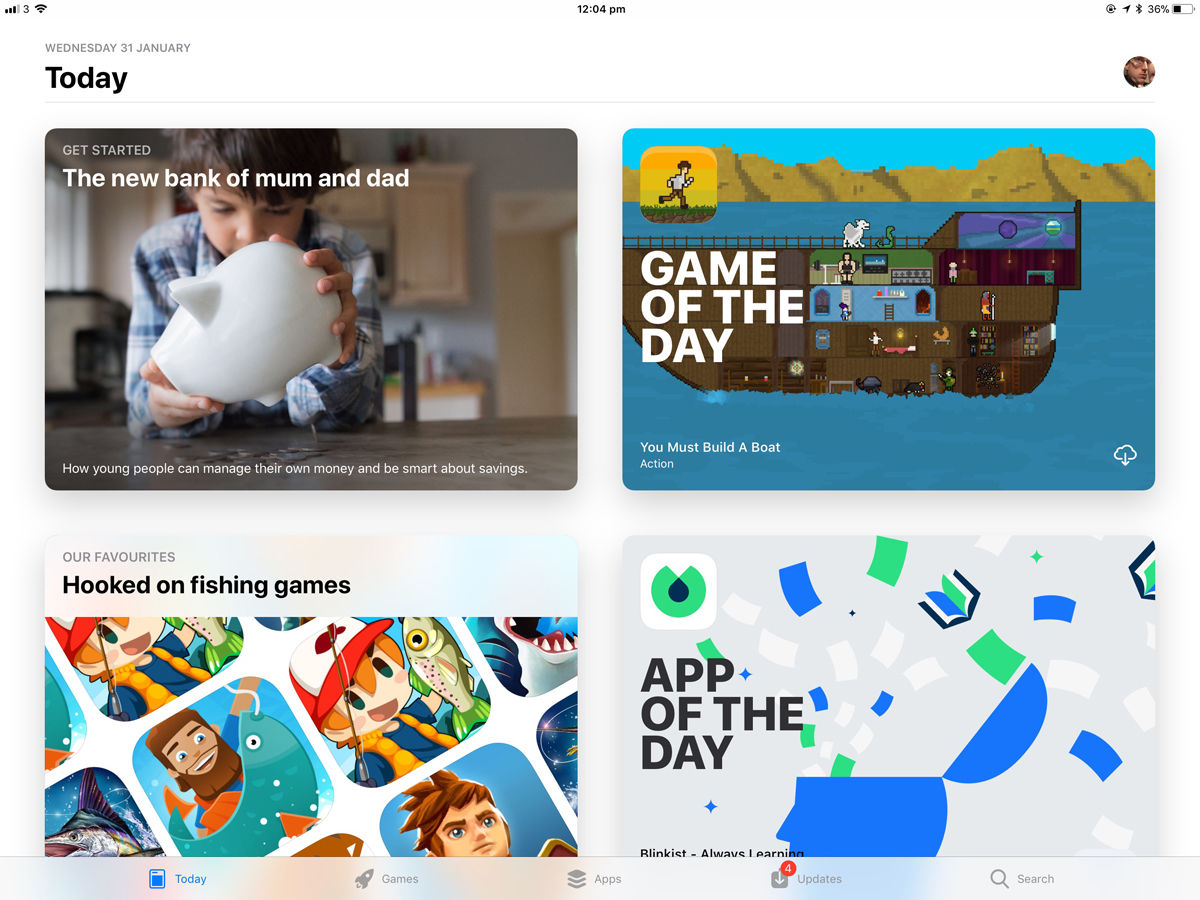
To get access to these apps, you need to open the App Store app – the icon is blue with a white A made of pencils and paintbrushes. In the App Store you can search for apps by name, or use the Today, Games and Apps sections to browse charts and curated collections.

When you find an app you want to install, tap the price (or GET, if it’s a free game), then enter your Apple ID or pay with Touch ID. Then it will start downloading to your iPad.
Officially the App Store is the only place you can get apps for your iPad, but if you’re keen to install apps that haven’t been approved by Apple you can jailbreak your iPad. This removes the protections that prevent apps being installed via non-official means, but there are some down sides that are discussed in the linked article.
If you tap and hold an app icon on the Home screen for a few seconds, you will enter edit mode, where all the icons jiggle around and have X icons next to them. In this mode you can drag the icons around to rearrange them (hold one against the edge of the screen to move it to another page) or tap the X to delete the app.
You can even delete (some of) Apple’s own apps these days. We explain the advanced nuances of app deletion in How to delete iPad & iPhone apps.
When you double-press the Home button, or swipe up from the bottom of the screen, you see the Control Centre: that’s the set of buttons and sliders on the righthand side. (If the iPad is unlocked you’ll also see the four most recently opened apps on the left.)

Control Centre is brilliantly handy for accessing frequently used controls and toggles without having to dig down through layers of the Settings app, or having to go into other apps. You can change the screen brightness or audio volume or turn on Airplane mode, for example.
But you can also customise the controls that appear in Control Centre. Open the Settings app and tap Control Centre in the lefthand bar, then Customise Controls.
The controls currently included are listed at the top; you can change the order by pressing and dragging the triple-line icons on the right, or tap the red minus icons to remove them altogether. The controls below are currently not featured, and can be added by tapping the green plus icon.
The operating system that runs on your iPad is called iOS. From time to time Apple updates iOS and releases a new version; the major full version releases (iOS 10, iOS 11 and so on) will come with a large number of entirely new features, but the point updates (iOS 11.1, iOS 11.2) are important too because they will have fixes and patches for recently discovered bugs and problems.
Your iPad will generally nag you if there’s a new version of iOS and guide you through the installation process: it’s far easier to administer a use base that is mostly on the same software, so it’s in Apple’s interests to get people to update in a timely fashion. But you may have missed one.
To check for iOS updates, open the Settings app and go to General > Software Update. iOS will take a moment and then either tell you you’re up to date, or offer to install the latest version. We cover this process in How to update iOS on a iPad or iPhone.
If you’re selling on your iPad, or just want to wipe it and start again (which can occasionally fix persistent problems), open the Settings app and go to General > Reset > Erase All Content and Settings. There will be a number of warnings before the iPad is actually wiped.